Growing Confidence, One Plant at a Time
Watching a tiny seedling grow into a full, thriving plant is one of gardening’s greatest joys. But the journey between those two stages can feel fragile. Seedlings are delicate, new plants can sulk after transplanting, and sometimes growth just… stalls.
This step-by-step guide will walk you through the stages of plant growth—from choosing young plants to helping them mature—so you can confidently support your garden at every phase. Along the way, you’ll find **5 practical tips** to keep everything looking strong and beautiful.
---
Step 1: Choose Healthy Young Plants
Strong gardens start with strong beginnings. Whether you’re buying seedlings or starting your own, look for signs of good health.
What to Look For
- **Sturdy stems** that stand upright without support
- **Deep green leaves** with no yellowing or spotting
- **Compact growth**, not tall and stretched (leggy)
- **White, fibrous roots** (if you can gently check the root ball)
What to Avoid
- Wilting or drooping plants
- Brown or mushy stems near the soil line
- Roots circling tightly around the pot (rootbound)
- Insect damage or webbing on leaves
Healthy young plants establish faster, grow stronger, and require less “rescue” later.
---
Step 2: Acclimate (Harden Off) Before Planting Outside
If your plants have been grown indoors or in a greenhouse, they need time to adjust to outdoor conditions—sun, wind, and temperature swings.
This process is called **hardening off**.
A Simple 7–10 Day Hardening Off Plan
1. **Days 1–2:** Place plants outside in bright shade for 2–3 hours, then bring them back in.
2. **Days 3–4:** Increase to 4–5 hours outside. Introduce gentle morning sun.
3. **Days 5–6:** Leave them out most of the day, including a few hours of direct sunlight.
4. **Days 7–10:** Keep them outside day and night unless frost or strong winds are expected.
This gradual process helps plants develop stronger stems and tougher leaves, so they don’t burn or break when planted in the garden.
---
Step 3: Plant with Care (and Comfort)
Transplanting can be stressful for plants, but a little care makes a big difference.
Best Time to Plant
- On a **cool, cloudy day** or in the **late afternoon**
- When soil is moist, not soggy or bone-dry
Planting Steps
1. **Water the plant** in its pot 1–2 hours before planting.
2. **Dig a hole** slightly wider than the root ball and just as deep.
3. Gently **remove the plant** from its pot, loosening circling roots with your fingers.
4. Set the plant in the hole so it sits at the **same depth** it was in the pot (or slightly higher in heavy clay soil).
5. **Backfill with soil**, pressing gently to remove air pockets.
6. **Water thoroughly** to settle the soil around the roots.
7. Add a light **layer of mulch** to hold moisture.
Planted this way, roots can quickly reach out into the surrounding soil and anchor your plant.
---
Step 4: Support Young Growth
Newly planted seedlings and young plants need a little extra support while they adjust.
Watering Young Plants
- Keep the soil **consistently moist** (not soggy) during the first few weeks.
- Water gently so you don’t wash away soil from the roots.
- As plants establish, gradually shift to deeper, less frequent watering.
Protecting from Wind and Sun
- Use simple stakes or small garden hoops with fabric to shield delicate plants from strong wind.
- If leaves scorch in intense sun, use shade cloth or move containers to softer light for a week or two.
This “tender care” phase doesn’t last long, but it sets the stage for long-term strength.
---
Step 5: Feed Wisely as Plants Grow
Fertilizer is helpful—but only when used thoughtfully.
General Feeding Guidelines
- Wait a week or two after transplanting before fertilizing to avoid root burn.
- Use a **balanced, slow-release or organic fertilizer** for most garden plants.
- For flowering annuals and vegetables, a slightly higher phosphorus (middle number) supports blooms and fruit.
Always follow package directions and err on the side of **under-fertilizing** rather than overdoing it. Too much fertilizer can lead to weak, lush growth more prone to pests and wind damage.
---
Step 6: Prune and Pinch for Fuller Plants
A little trimming can encourage stronger, bushier plants.
Pinching Tips
For many annuals and herbs (like basil, coleus, or zinnias):
- When plants are 4–6 inches tall, **pinch off the top set of leaves**.
- This encourages side shoots to grow, creating a fuller, more compact plant.
Light Pruning
- Remove any dead, damaged, or crossing stems.
- Cut back weak or spindly growth to just above a healthy leaf.
Don’t be afraid to prune lightly. Most plants respond with fresh, vigorous growth.
---
Step 7: Keep an Eye Out for Stress (and Act Early)
Healthy, growing plants are more resistant to pests and disease. But stress can happen, especially during rapid growth.
Common stress signs:
- New leaves much smaller than older ones
- Discolored or distorted foliage
- Sudden drooping that doesn’t improve after watering
Respond by:
- Checking soil moisture and drainage
- Looking under leaves and along stems for pests
- Adjusting water, light, or fertilizer as needed
Catching issues early usually means an easy fix.
---
5 Helpful Tips for Turning Seedlings into Showpieces
1. Don’t Rush Planting into Cold Soil
Even if the air feels warm, cold soil can shock roots and stunt growth.
- Wait until both **air and soil** have warmed to your plants’ comfort range.
- For warmth-loving plants (tomatoes, peppers, many annuals), this often means waiting a bit past your last expected frost.
Patience at planting time often leads to faster, healthier growth overall.
---
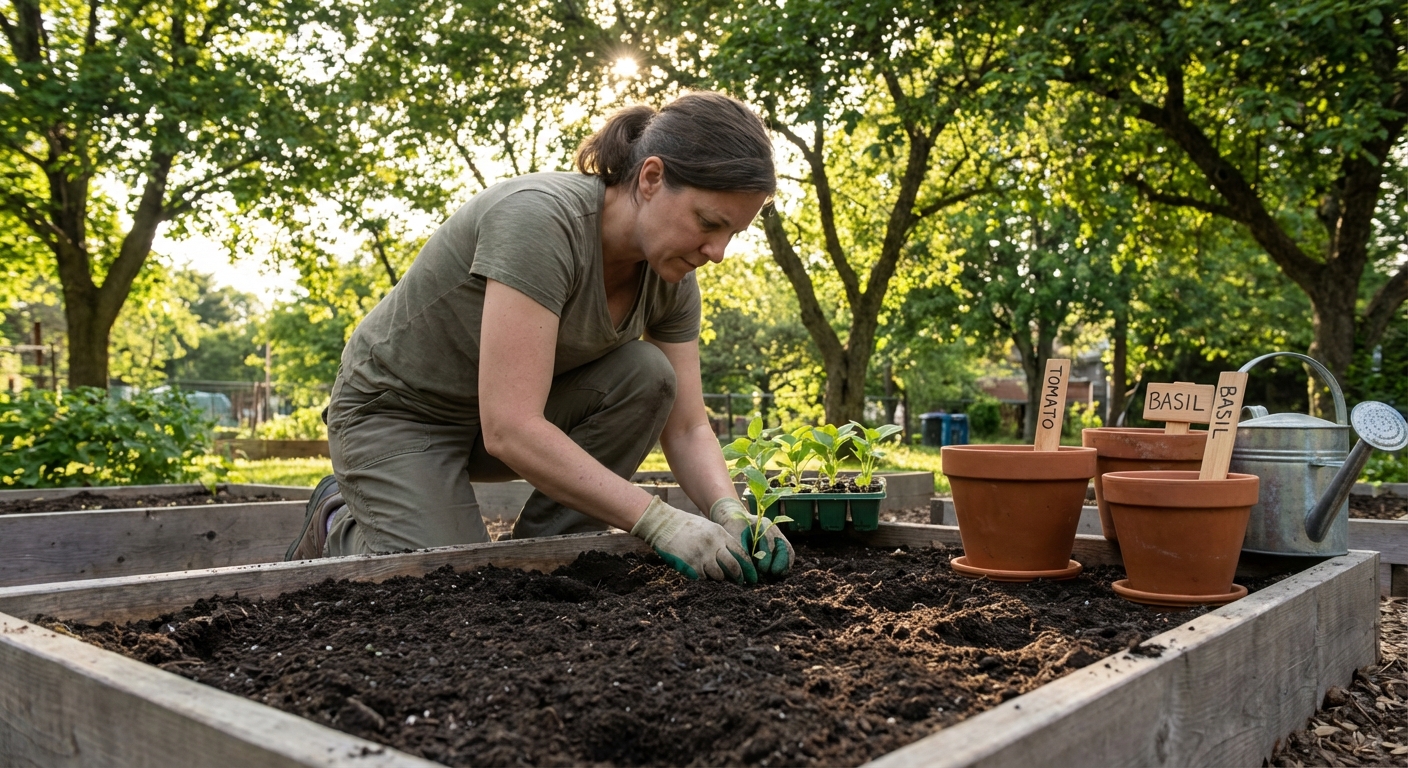
2. Label Everything
When plants are small, it’s easy to forget what’s planted where.
- Use simple plant tags (even popsicle sticks work).
- Note variety names and planting dates.
This makes it easier to give each plant the right care and to remember which varieties you loved (or didn’t) later in the season.
---
3. Space Plants Generously
It’s tempting to plant close together so beds look full right away, but overcrowding leads to:
- Poor air circulation
- More disease pressure
- Plants competing for light and nutrients
Follow spacing recommendations on plant tags. Your garden may look a bit sparse at first, but it will fill in beautifully.
---
4. Support Tall or Top-Heavy Plants Early
Stake or cage plants while they’re still small so you don’t damage roots later.
- Use stakes, cages, or trellises for tall flowers, tomatoes, and climbing plants.
- Gently tie stems with soft ties or garden twine.
Early support helps plants grow upright and makes your garden look tidy and intentional.
---
5. Celebrate Small Milestones
Notice and enjoy the little moments:
- The first new leaf after transplanting
- The first bud forming on a flower
- A plant that looked unsure last week suddenly standing tall
When you appreciate these small signs of progress, plant care feels less like a list of tasks and more like a shared journey.
---
Growing Alongside Your Garden
Every new plant teaches you something—about timing, conditions, and your own preferences as a gardener. You’ll have a few losses along the way, and that’s okay. Even the most experienced gardeners lose seedlings and misjudge a planting date now and then.
If you choose healthy starts, plant thoughtfully, support young growth, and respond early to stress, your seedlings will reward you by growing into the showpieces of your garden. And as they grow, so will your confidence.